When we first moved into our current home, we didn’t have any outdoor furniture. Since then, we’ve tried several. We’ve had a few plastic chairs (Adirondack style), and even the aluminum sets like the ones in bistro settings.
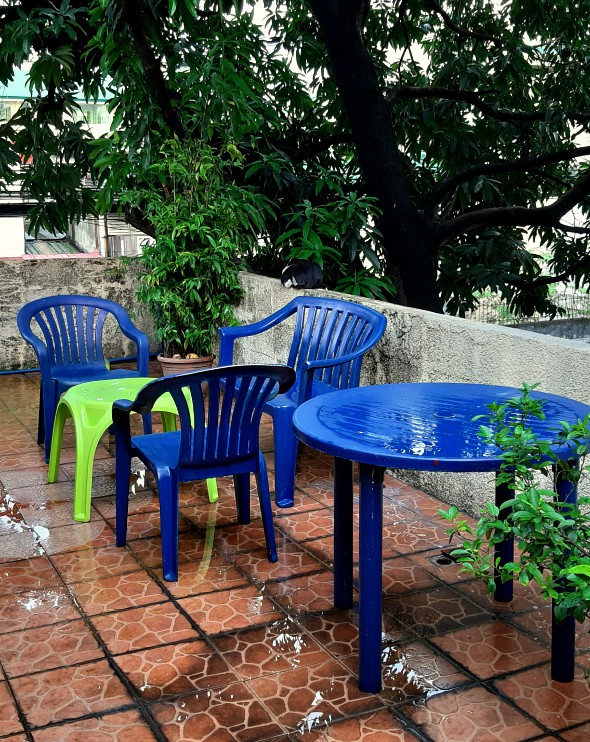
The only ones that lasted were these Cofta plastic chairs & table. I bought them pre-Ondoy pa. I remember because I recall cleaning them during Typhoon Pepeng (2009). I was wearing a raincoat and scrubbing these plastic chairs & table, and using the rain as “free” rinsing. I hated that the chairs had gotten chalky after only a few years, they were also a bland, spotty beige color. But other than that, the chairs were still sturdy.
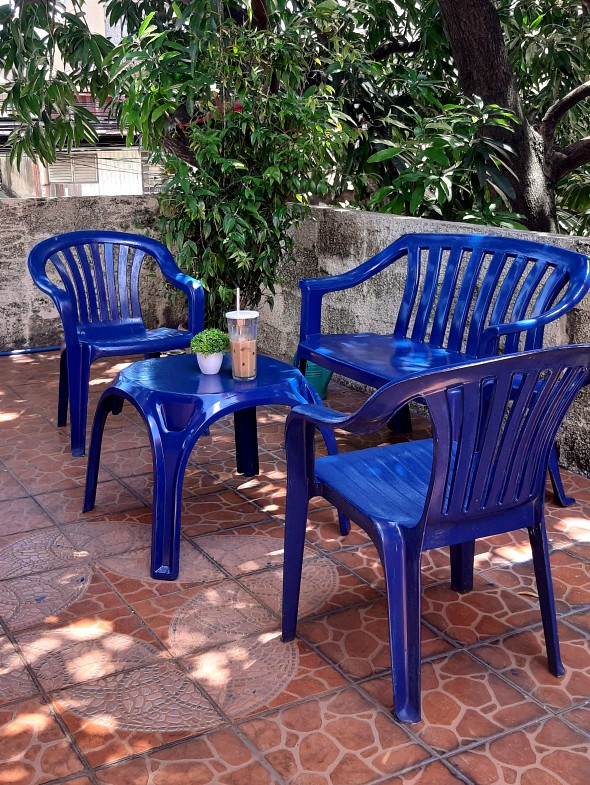
I also bought the two-seater Uratex a few years later. I tried to get a similar-looking style, but couldn’t find an exact match. I wanted to do a “sala” configuration, but I couldn’t find a coffee table that would match.
Fast forward a few years, and I really wanted nicer outdoor furniture to take advantage of our breezy balcony space. Pinterest was the rage, and I saw a few posts were some people painted their plastic chairs different colors. I wondered if it would work.
So one summer, I went to the hardware store and bought oil-based enamel paint, plastic primer, a paintbrush, and painted them. Let me show you how to paint plastic chairs.
HOW TO PAINT PLASTIC CHAIRS
First of all, you have to use good quality, sturdy, thick plastic chairs. The cheaper ones using thin plastic tend to get brittle and crack very quickly, whereas my Uratex/ Cofta chairs are still okay after years under sun & rain.
I don’t have pictures when I originally painted my plastic chairs, but I recently bought a new center table that I am painting.
Last year, I chanced upon a Keter plastic kid’s table (neon green) and thought that the shape and size would match well with my plastic chairs. It’s not as sturdy as the chairs, but I don’t need it to be since no one will be sitting on it. It’s just a table where people can put down coffee cups, tea mugs, or a plate or two.
I apologize for the dirty wall behind it, but I didn’t want to waste water to do a pressure wash on it while we are still experiencing a water shortage. It’s not an urgent matter, anyway. ![]()
So, how do you paint plastic furniture?
- Clean the plastic furniture to be painted. Wash it well as best as you can, and dry it.
- Lay out protective material (paper, plastic or cloth) to protect the floor of where you’ll be painting. Preferably, paint outdoors, make sure there is good ventilation. Check that the weather will be nice & sunny. Don’t paint during rainy days. Wear a mask to protect yourself from the fumes. Wear clothes you won’t mind getting paint on.
- Mix the quick drying oil-based enamel paint, make sure everything is blended. I just use a disposable chopstick for this.
- Apply Plastic Primer (follow manufacturer instructions).
- Start painting. I suggest doing one area at a time: primer, paint, primer, paint. If you will be painting the bottom/underside as well, I suggest starting with that first. If you start with the “upside” first, you’ll have to wait until it is fully dry before you can turn it upside down to paint the bottom. If you paint the bottom first, you can turn it back up without worrying about damaging the paint job of the bottom side.
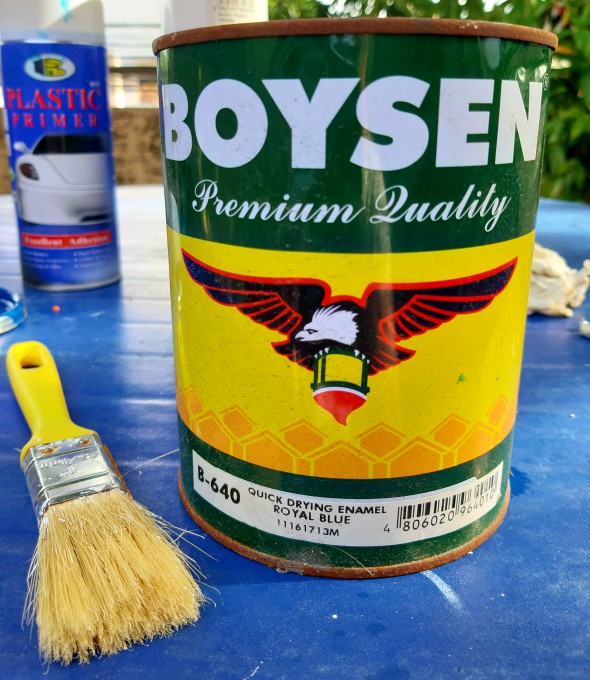
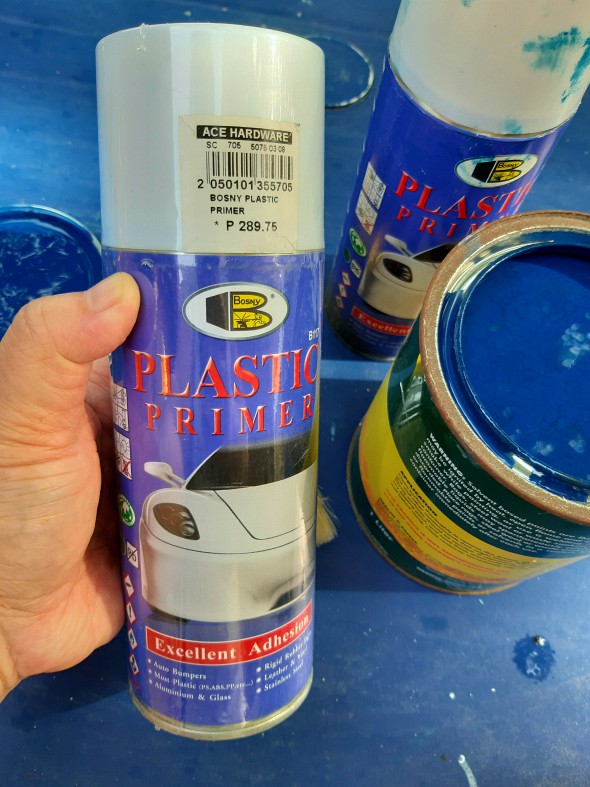
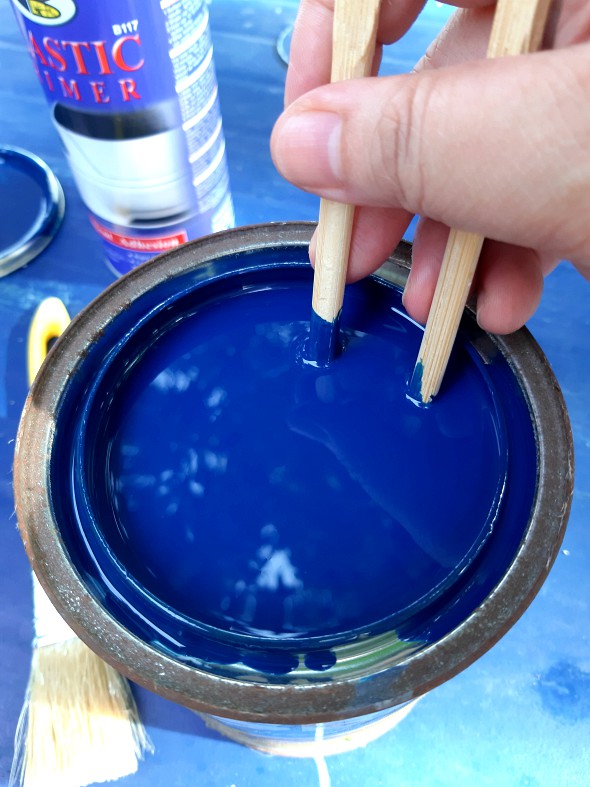
Do as many coats until you’re satisfied (follow manufacturer instructions). If there are particularly chalky areas, make sure those get more paint. Try to make your painting as even as possible, although I find that oil-based enamel tends to flatten itself as it dries and hides the brush strokes 🙂
How long it takes to paint depends on how many you are painting. For the chairs, table and sofa, it took me a whole day. For the Keter table and just retouching, it took me one afternoon.
Drying takes a really long time – several days, even when it’s sunny. But if you want the paint job to last, oil-based enamel is really the way to go for outdoor furniture. The downside is that there are only limited colors available. Sure, you can mix your own color, but what if you need to repaint in the future? Will you be able to mix the same color again?
I just settled on Royal Blue. It’s not my ideal blue color, but I’ve learned to live with it. It does get a bit darker as it ages.
COSTING
A can of plastic primer costs around P300, the enamel paint was around P180 per can. Make sure you have enough paint. It’s a hassle to run out of paint in the middle of the project.
RESULTS: PAINTING PLASTIC CHAIRS
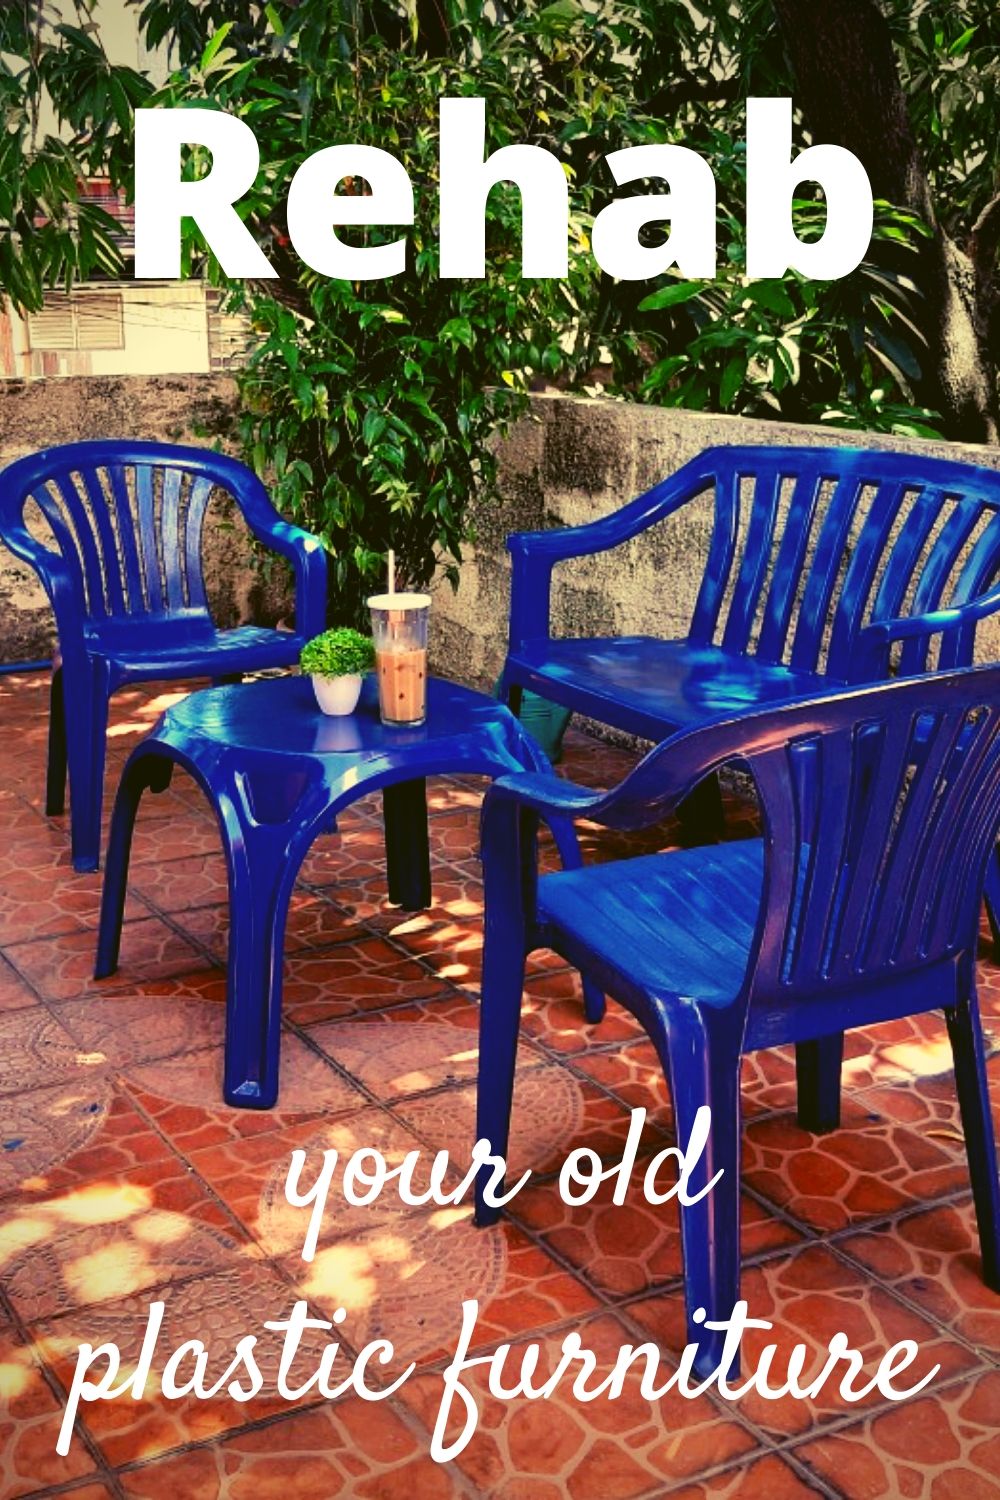
I’ve had most of these for more than 10 years (except for the newer center table). The “chalking” has stopped after they were painted.
The furniture all still feel very sturdy, the plastic doesn’t feel brittle. Take note that these are left truly outdoors – with no cover or roof over them. They are subject to direct sunlight, dust, rain, typhoons, everything, every day of the year, every year.
They hold up very well. I just retouched the paint job on the chairs while I was painting the Keter center table; other than that, I have done zero maintenance on them except to clean them when they’re dirty.
Cleaning is easy. I just run a soapy sponge over them, and hose them down with water, and let them dry naturally, sometimes tilting them to let the excess water run down.
These have been the easiest, most convenient outdoor furniture we’ve had. 🙂 I don’t need to worry about glass or marble breaking, I don’t need to worry about wood warping or rotting, I don’t need to worry about rust or mold. Our previous metal chairs were often too hot to sit on during sunny days, but we’ve never had that problem with these plastic chairs. Also, because these plastic chairs are relatively cheap, I don’t get stressed about them getting broken. But they haven’t broken, so far 🙂
They are also light enough that it’s very easy for me to reconfigure the layout. Right now, it’s configured as a “sala” set. If we want to eat outside, for example, if we’re having barbecue, I just reconfigure it for “dining”.

I’m happy that they all look cohesive now! The only thing missing is nice lighting. I want to put up those outdoor string lights but I don’t want to have to take them down every time there’s a typhoon. It’s too much hassle. I am still looking for a nice, hassle-free lighting option. I need something easy, maintenance-free and typhoon-proof, and something I can put up without any renovation or digging up walls and concrete. Right now, we’re just using the fluorescent light that is attached to the roof eaves as lighting for night time, but as you know, it’s not really pretty 😀 If you have any suggestions, please feel free to leave a comment below 🙂
Hope this will help you rehab your old plastic chairs and make them look good and be useful again! 🙂
